Audio/Information Screen
Models with display audio system
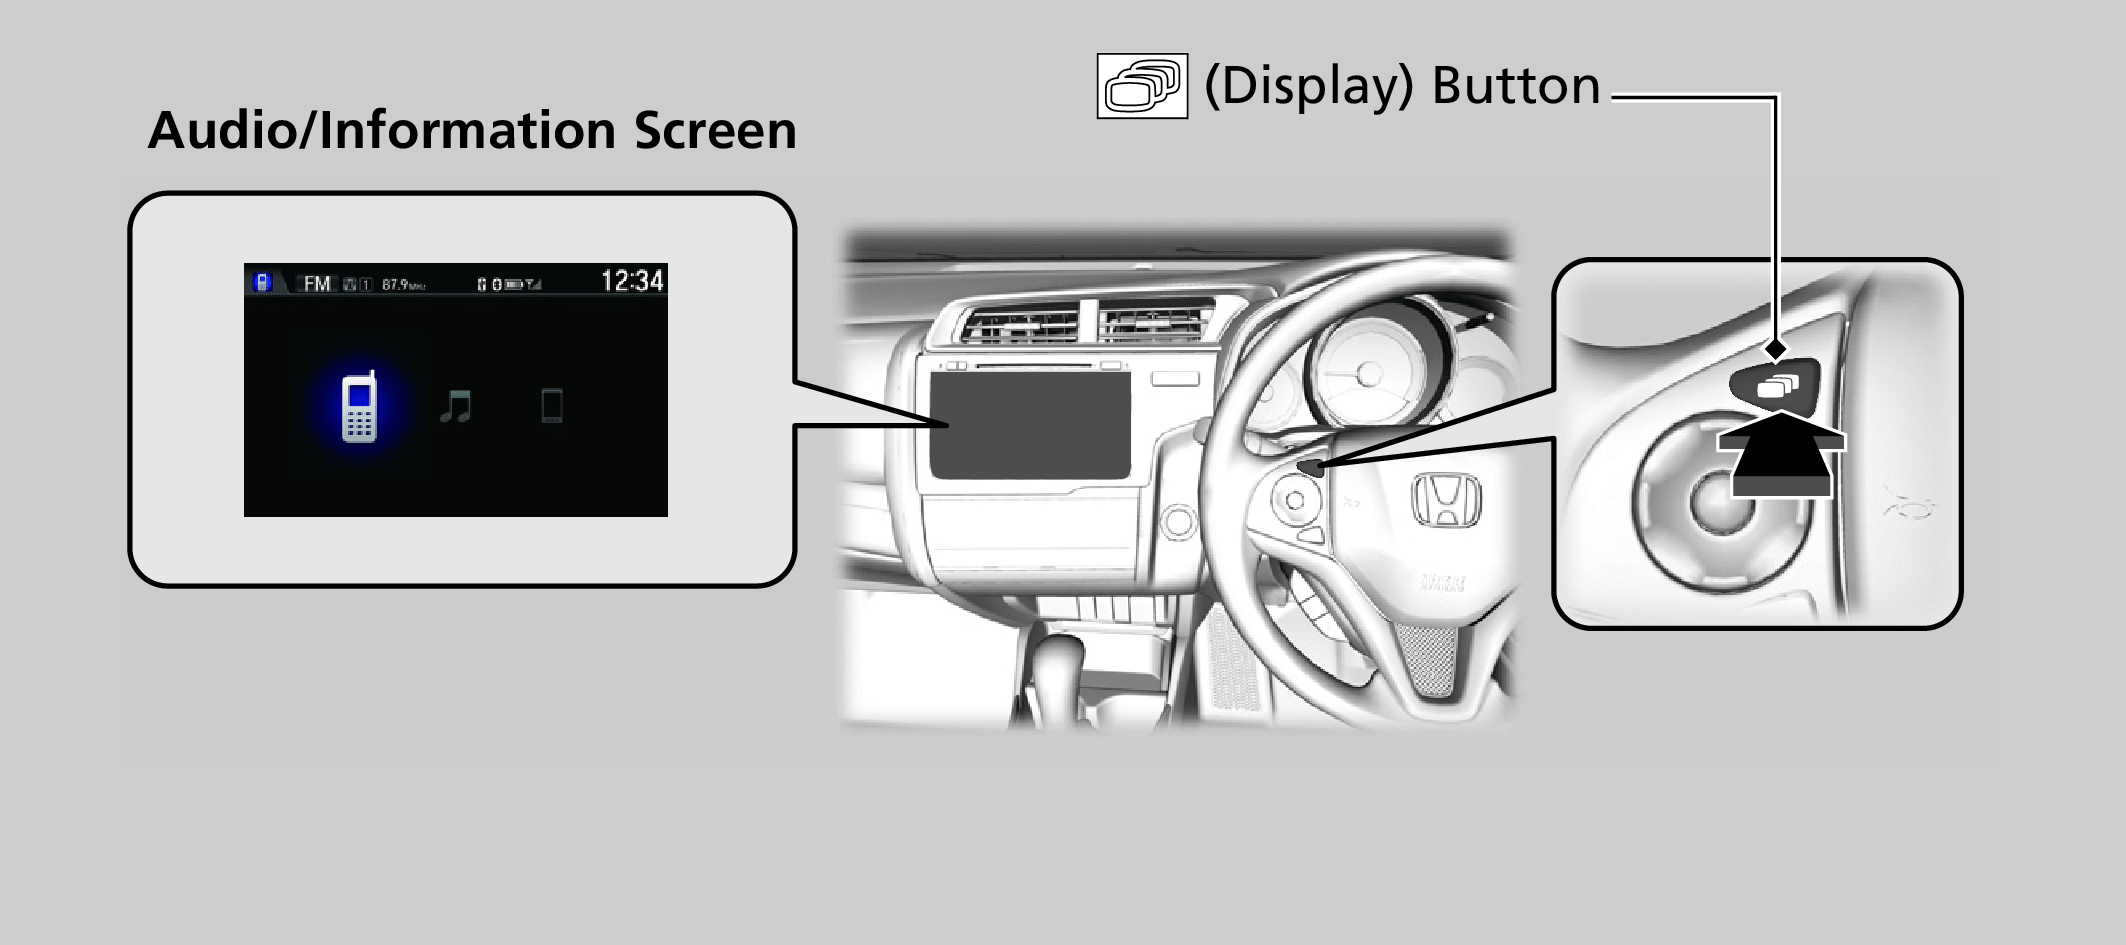
Displays the audio status and wallpaper. From this screen, you can go to various setup options.
Switching the Display
Using the  button
 button
Press the  (display) button on the steering wheel to change the display.
Using the HOME screen
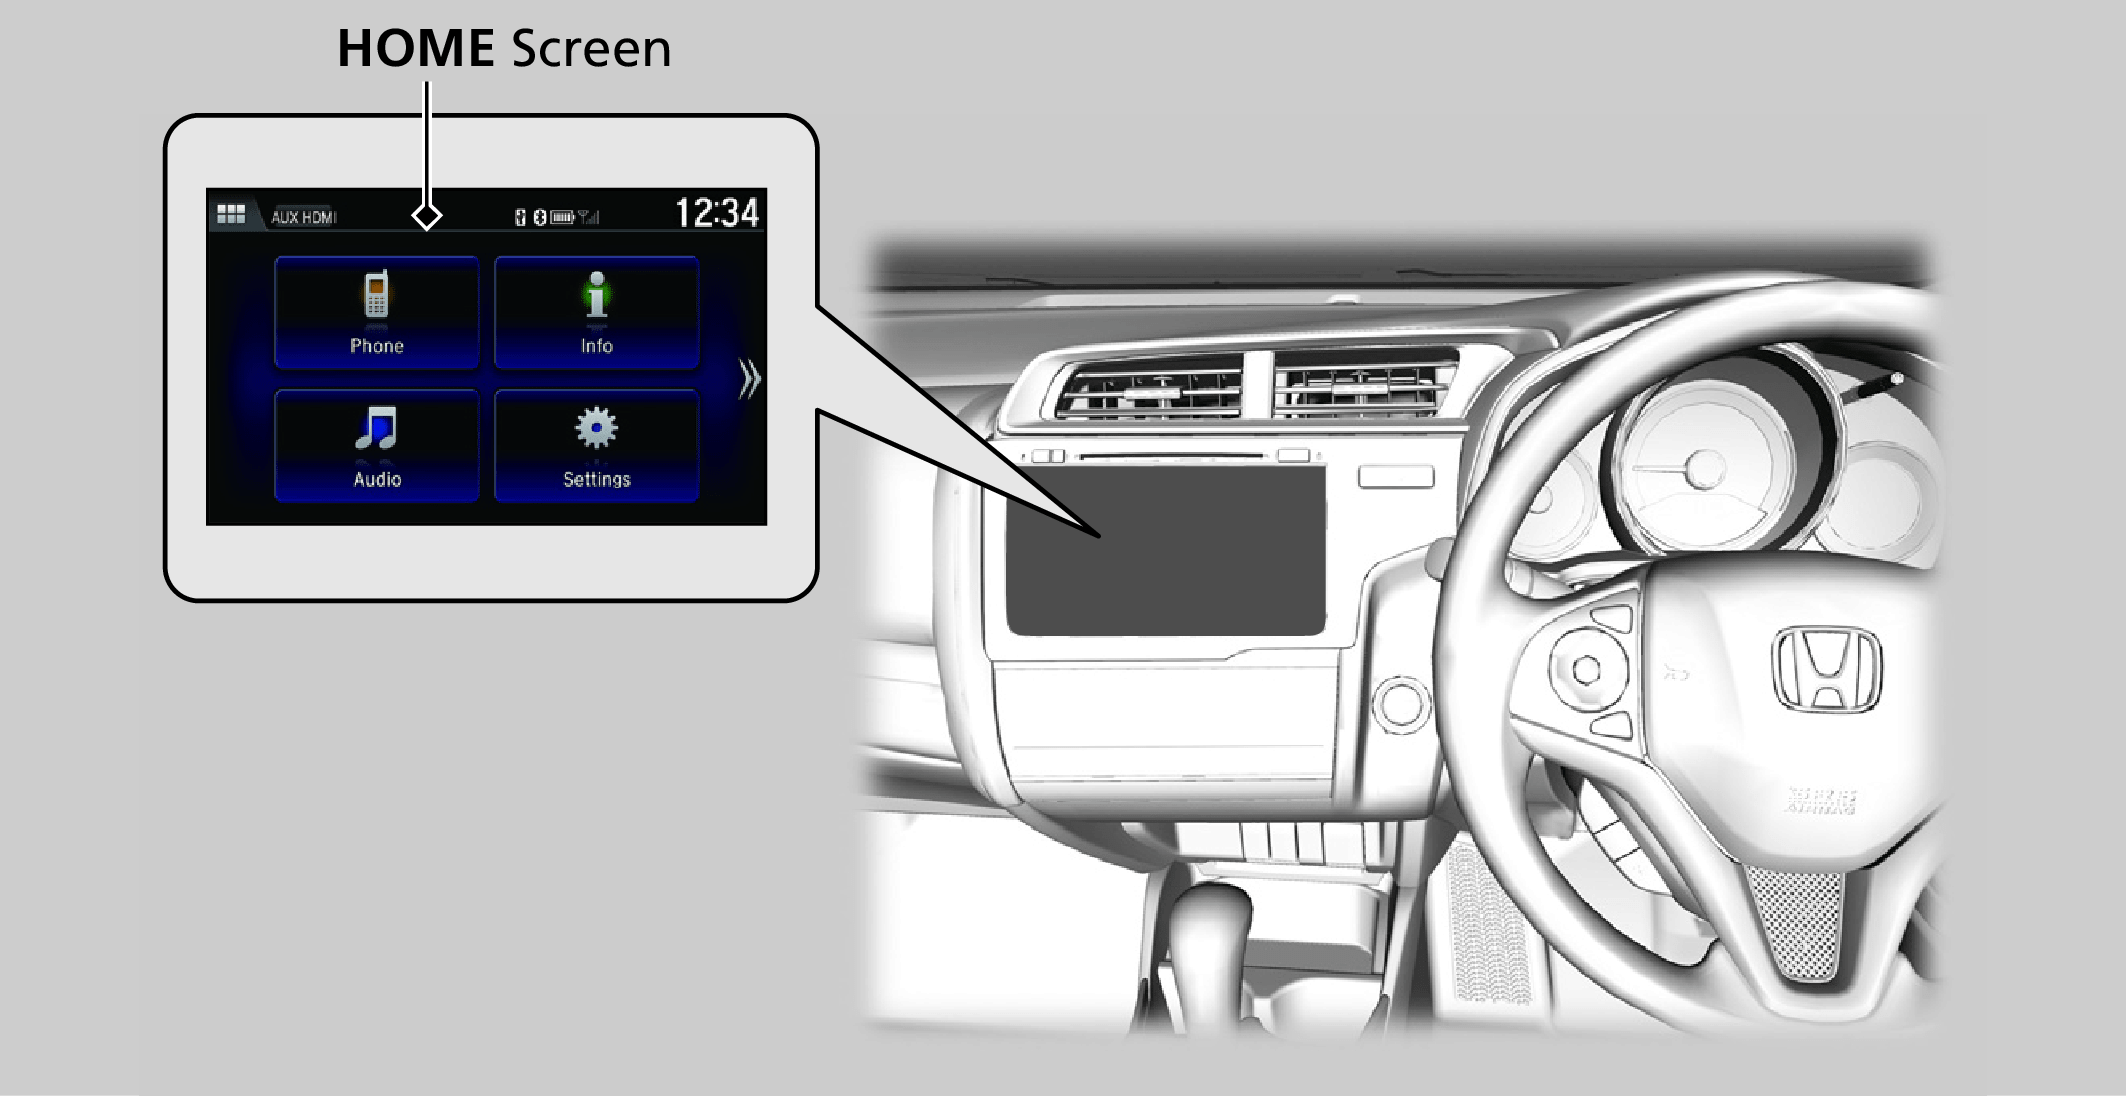
Select Phone, Info, Audio, or Settings.
Phone
Shows the HFT information.
Hands-Free Telephone System*Using HFTHFT Menus
Info
Shows the Trip Computer, Clock/Wallpaper, or System/Device information.
Audio
Shows the current audio information.
Settings
Enters the customizing menu screen.
Wallpaper Setup
You can change, store, and delete the wallpaper on the audio/information screen.
- Detail
-
- When importing wallpaper files, the image must be in the USB flash drive’s root directory.
Images in a folder cannot be imported. - The file name must be fewer than 256 characters.
- The file format of the image that can be imported is BMP (bmp) or JPEG (jpg).
- The individual file size limit is 5 MB.
- The maximum image size is 4,096 × 4,096 pixels. If the image size is less than 800 × 480 pixels, the image is displayed in the middle of the screen with the extra area appearing in black.
- Up to 5 files can be selected.
- If the USB flash drive does not have any pictures, the No files detected message appears.
From the pop-up menu, select Preview to see a preview at full-size screen.
To go back to the previous screen, select OK, or BACK.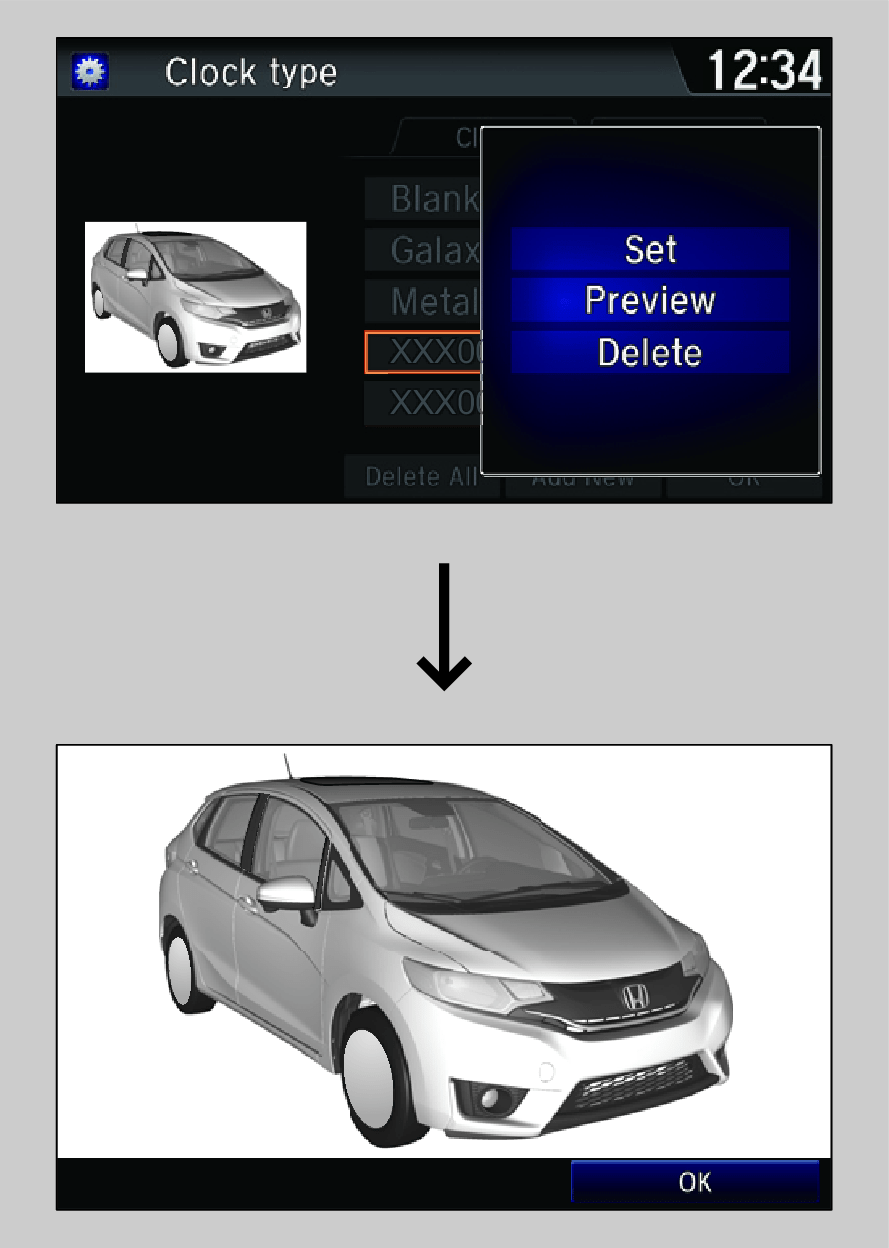 When the file size is large, it takes a while to be previewed.To delete all wallpapers you add, select Delete All, then Yes.
 - When importing wallpaper files, the image must be in the USB flash drive’s root directory.
Import wallpaper
You can import up to five images, one at a time, for wallpaper from a USB flash drive.
-
- Connect the USB flash drive to the USB port.
- Select Settings to go to the Settings screen.
- Select Info.
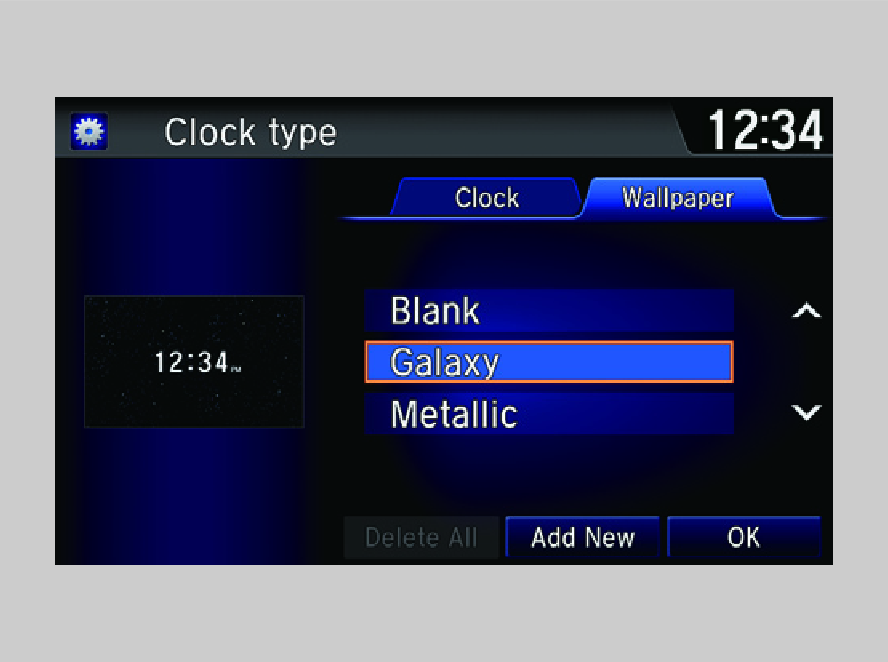
- Select Clock/Wallpaper Type, then the Wallpaper tab.
- Select Add New.
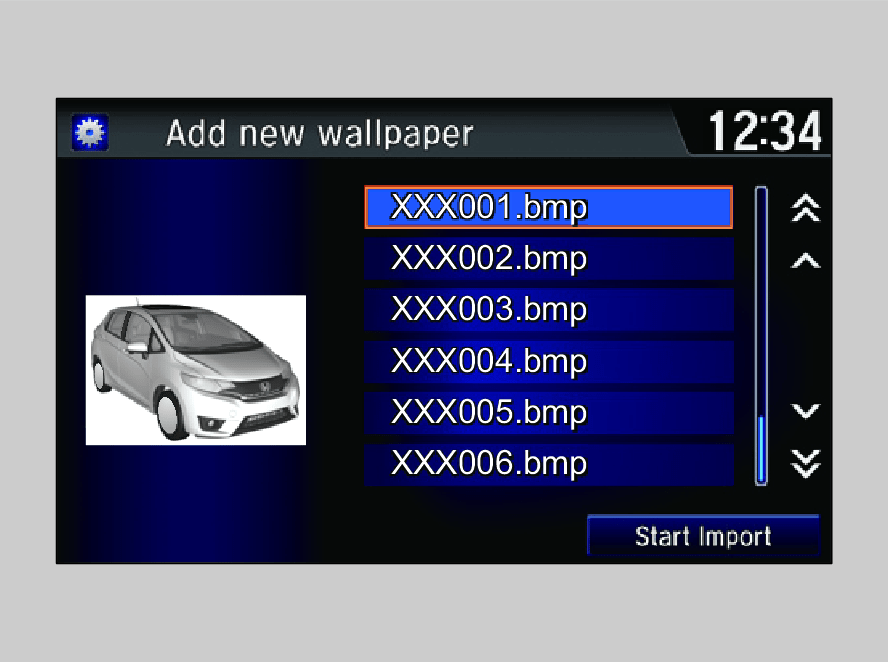
- The picture name is displayed on the list.
-
-
- Select a desired picture.
- The preview is displayed on the left side on the screen.
- Select Start Import to save the data.
- Then the display will return to the wallpaper list.
- Select a desired picture.
-
Select wallpaper
- Select Settings to go to the Settings screen.
- Select Info.
- Select Clock/Wallpaper Type, then the Wallpaper tab.
- The screen changes to the wallpaper list.
- Select a desired wallpaper.
- The preview is displayed on the left side on the screen.
- The pop-up menu appears on the screen.
- Select Set.
- The display will return to the wallpaper list.
Delete wallpaper
- Select Settings to go to the Settings screen.
- Select Info.
- Select Clock/Wallpaper Type, then the Wallpaper tab.
- The screen changes to the wallpaper list.
- Select a wallpaper that you want to delete.
- The preview is displayed on the left side on the screen.
- The pop-up menu appears on the screen.
- Select Delete.
- The confirmation message will appear.
- Select Yes to delete completely.
- The display will return to the wallpaper list.
- Recommend page